This is a step by step account of how we made the distortion effect in
Adobe After Effects. The main things you need for this is the font of
your text (If it's not already downloaded) and a Screen Glitch loop,
(which can be found here: https://www.youtube.com/watch?v=FEFcfZvz8yY).
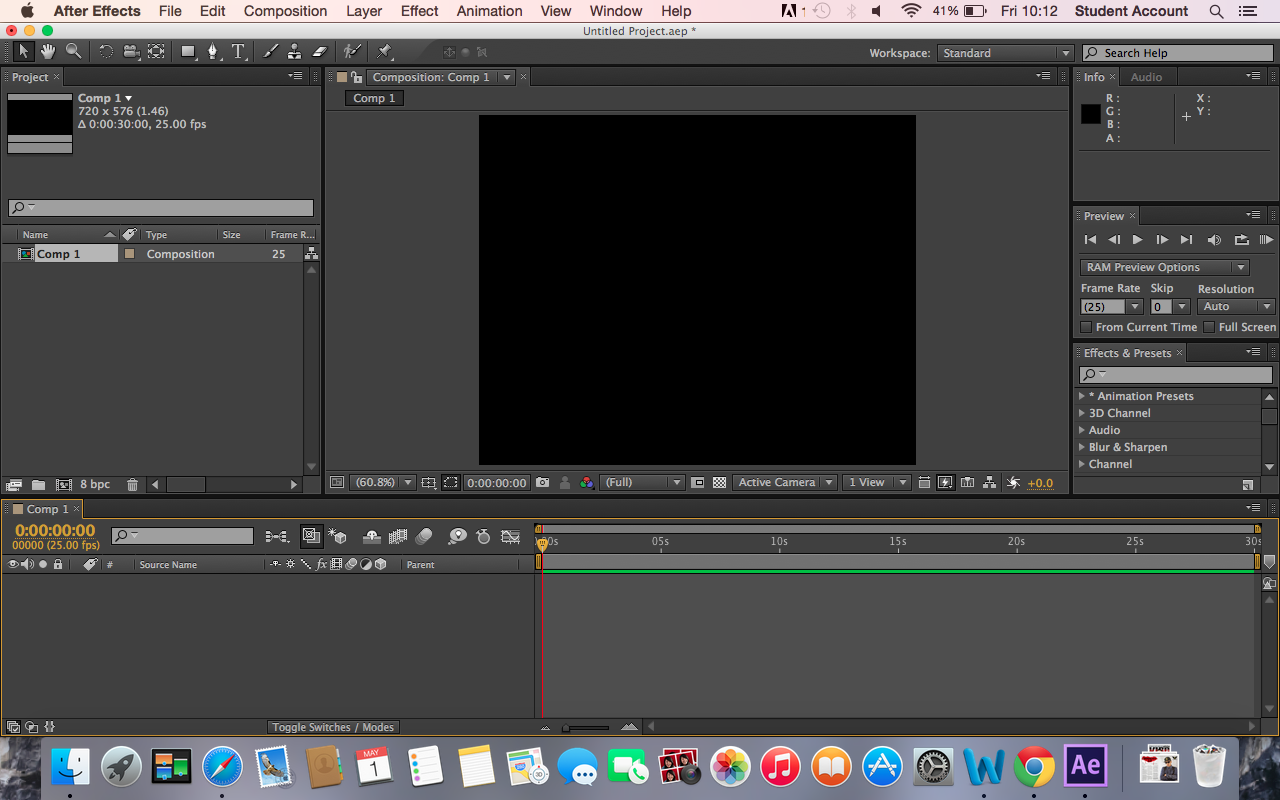 |
Once we downloaded the necessary font and screen glitch, we went on to After effects to prepare to import our downloads.
|
|
|
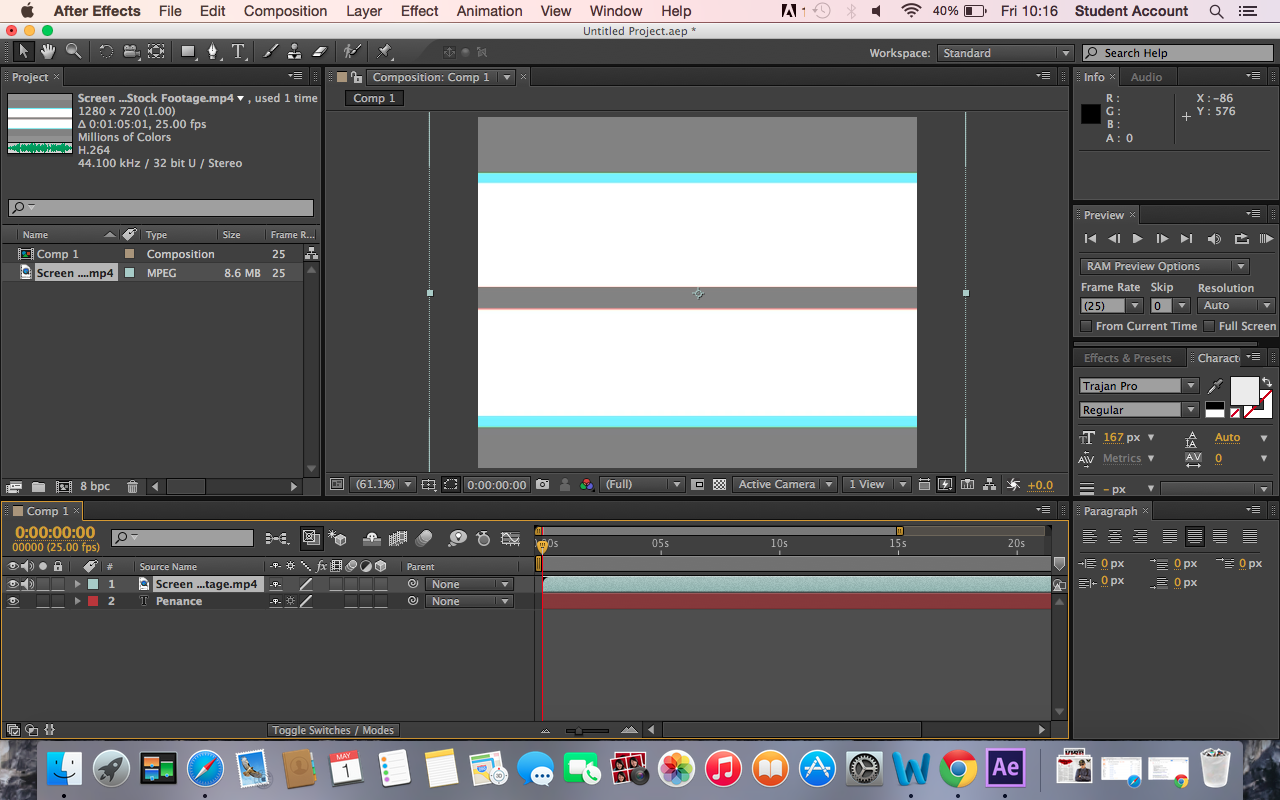 |
We typed the text ("PENANCE") and then added the screen glitch layer on top of the text. When this has been done you then make the screen glitch layer invisible so
then we are left with just the title.
|
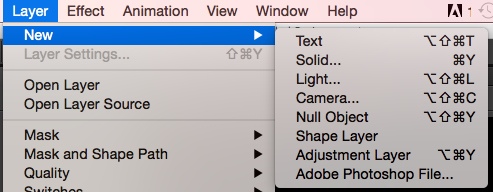 |
After this you then create a new adjustment layer copy of the screen glitch layer.
|
 |
After this you then select the effect you want, since we wanted distortion you go to distort and select 'Displacement Map'.
| | | | | | | | | | |
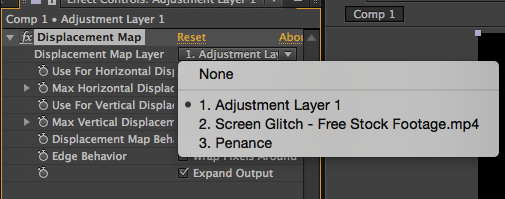 |
Once selected, you go to the setting on the right and change the 1st setting from adjustment layer to the glitch screen.
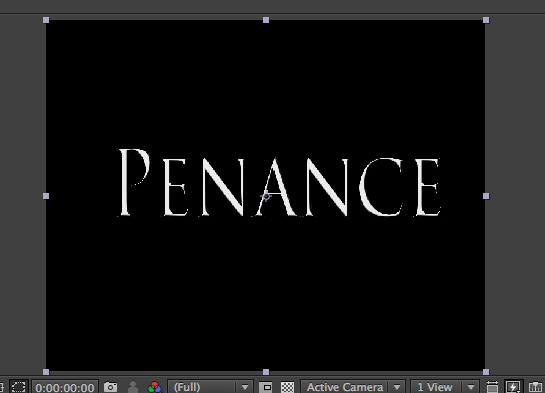
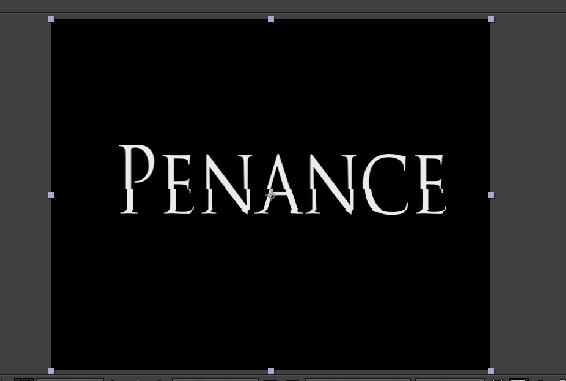
This is the difference, it changes the image from this (above) to this (below)
|
|
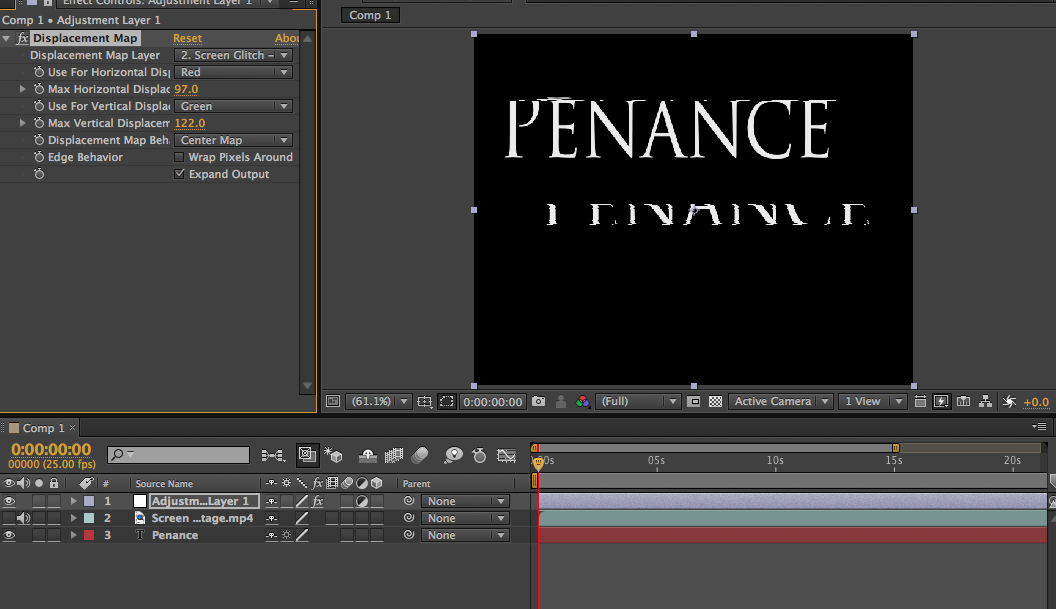 |
After this, on the settings on the left hand side, you can select how
much you want the image/text to distort by. The higher the number the
more violent the distortion is.
|
 |
And finally, on the adjustment layer, you can shorten or extend the
length of the distortion. Also by duplicating the layer (ctrl +c OR cmd
+d) you can make the image/text distort several times and stop at
certain sections too.
That is how we distorted our intertitles. |


No comments:
Post a Comment